

- By Smile Roofing
- Roofing Tips
- 0 Comment
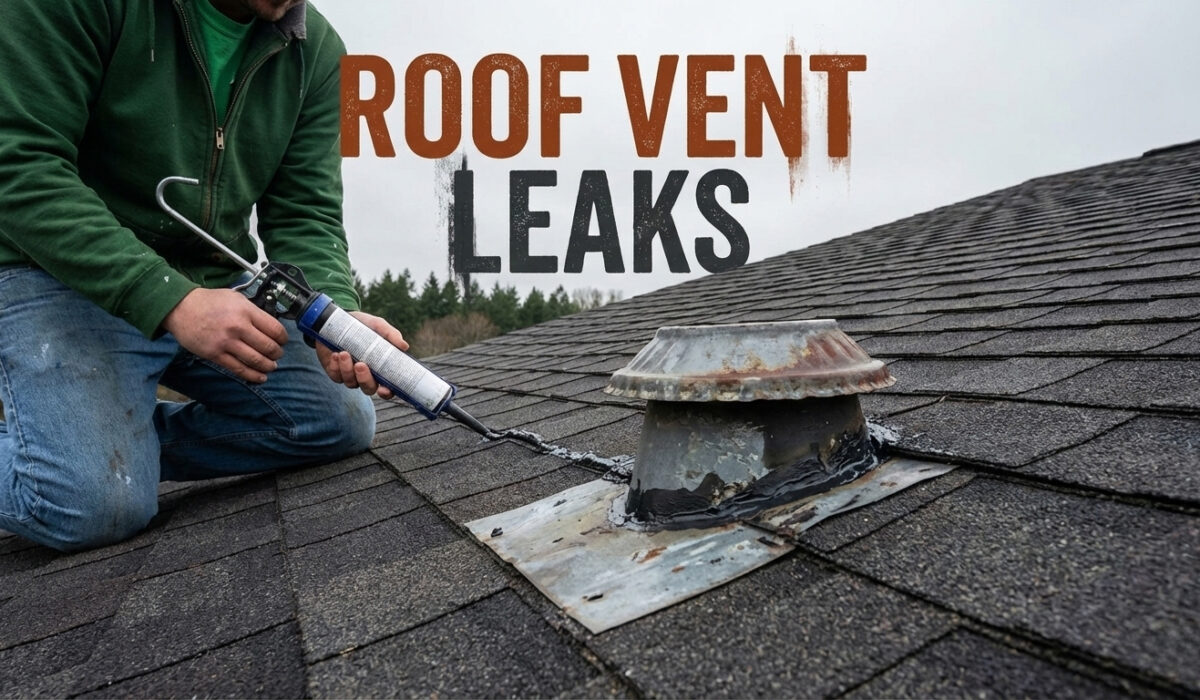
A roof vent leak can appear straightforward at first. Water shows up near a bathroom ceiling, a plumbing stack, or an attic vent, so the visible gap receives a layer of sealant and the stain eventually dries. The problem seems resolved until another storm exposes the same weakness.
Recurring roof vent leaks usually happen because the first repair addressed the most visible symptom rather than the full path water followed into the building. The actual failure may involve a cracked vent boot, incorrectly layered flashing, loose fasteners, damaged shingles, torn underlayment, weakened decking, or moisture forming inside the attic.
A reliable diagnosis begins by identifying the vent type, observing when the moisture appears, and checking every material that helps move water around the roof opening. When the source cannot be confirmed safely from the ground or attic, a free roof assessment can help determine whether the problem is limited to the vent or extends into the surrounding roof system.
Why Roof Vent Leaks Return After a Surface Repair
Roof penetrations interrupt an otherwise continuous drainage surface. Every pipe, hood, turbine, and exhaust outlet creates an opening that must be integrated carefully with the surrounding roofing materials.
When one part of that assembly fails, water may enter through a very small gap and travel before becoming visible indoors. This is why the location of a ceiling stain does not always reveal the precise exterior entry point.
Water Often Moves Before It Drips Indoors
Water entering beside a vent can follow the underside of the roof deck, run along a rafter, cling to a pipe, or collect on a fastener before dropping onto insulation or drywall. A stain several feet away from the vent may still originate at the vent flashing.
The direction of water movement can also change with roof slope and wind direction. Light rain may drain harmlessly around a small defect, while wind-driven rain may push water beneath a lifted shingle or flange edge.
Useful clues include:
Whether moisture appears during every storm
Whether the leak is worse when rain comes from one direction
Whether dripping begins immediately or several hours later
Whether the stain grows after showers or cooking rather than rainfall
Whether fresh moisture is visible on the roof deck, pipe, or duct
These observations help separate exterior water intrusion from condensation and other attic moisture problems.
Roofing Cement Can Hide the Original Failure
Sealant has legitimate uses in roofing, but it should not replace a correctly installed flashing system. Applying roofing cement around the entire perimeter of a vent may cover a visible opening without correcting the material beneath it.
A thick surface patch can conceal:
A split rubber collar
Corroded metal flashing
A raised fastener
An abandoned nail hole
Poor shingle placement
Torn underlayment
Softened roof decking
Sealant may also create a small ridge that slows drainage above the vent. Once debris collects against that ridge, water can remain in contact with vulnerable seams longer than intended.
Why the Most Obvious Gap May Not Be the Leak Source
A visible crack deserves attention, but it should not automatically be treated as the only problem. Water may be entering higher on the roof and passing beneath the vent flange. It may also be entering through a damaged hood, a loose cap, or a nearby shingle.
A complete inspection follows the water path instead of assuming that the largest visible defect caused the interior stain.
How a Roof Vent Assembly Controls Water Around the Opening
A roof vent is not a single component. It is a small drainage system made from several materials that must overlap and move together without creating an opening.
Understanding these components makes it easier to recognize why repeat repairs occur.
The Boot or Collar Seals Around the Pipe
Plumbing vent pipes commonly use a boot with a flexible collar that fits around the pipe. The collar must remain tight enough to block water while allowing for normal material movement.
Over time, the collar may harden, split, pull away from the pipe, or deform. Damage is often most difficult to see on the uphill side, where the roof slope and surrounding shingles partially hide the material.
A bathroom exhaust hood or attic vent may use a different configuration. Some rely on a metal or plastic curb, a hood, a cap, or an integrated flashing base. Identifying the exact vent type is essential because the correct repair depends on how that component was designed to shed water.
The Flange Must Be Layered With the Roofing
The flange is the flat section that surrounds the vent and directs water back onto the roof surface. Its upper portion is generally integrated beneath the upslope roofing material, while the lower portion remains positioned so water can drain over it.
Problems develop when:
The upper flange is left exposed incorrectly
The lower flange is buried beneath shingles
Side shingles are cut too tightly
Excessively wide cuts leave gaps
Broken shingles no longer cover the flange edges
Previous sealant blocks the intended drainage route
The goal is not simply to seal every visible edge. The goal is to preserve a continuous downhill path for water.
Fasteners, Underlayment, and Decking Support the Visible Repair
Fasteners hold the vent assembly in place, but their location matters. Exposed fasteners placed directly in a drainage path can become leak points if their protective seal fails or the fastener begins to move.
Under the roof covering, underlayment provides a secondary layer of protection. It should guide incidental moisture downslope rather than trap it around the penetration.
The roof deck supports the entire assembly. If the wood is soft, split, delaminated, or enlarged around the opening, a new fastener may not hold securely. Replacing the visible boot without correcting damaged decking can allow movement to return.
For broader roof planning, satellite roof measurements can provide useful information about roof area, pitch, edges, ridges, and flashing-related features. These measurements do not replace a close inspection of the leaking vent, but they can help define the wider roof conditions surrounding the repair.
| Roof component | Primary function | Common failure evidence | Why a surface patch may fail |
|---|---|---|---|
| Boot or collar | Seals around a pipe | Cracks, hardness, separation | Coating does not restore deteriorated material |
| Flange | Redirects water around the opening | Lifting, corrosion, poor overlap | Perimeter sealant may trap water |
| Vent cap or hood | Limits direct rain entry | Cracks, missing pieces, open seams | Base repairs do not correct upper damage |
| Fasteners | Secure the assembly | Rust, raised heads, loose grip | Sealant does not restore holding strength |
| Shingles or roof covering | Direct water over flashing | Poor cuts, breaks, lifting | The leak may begin outside the vent base |
| Underlayment | Provides secondary drainage | Tears, incorrect laps, deterioration | Concealed damage remains untreated |
| Roof decking | Supports all components | Softness, staining, delamination | New components may loosen again |
Seven Roof Vent Checks That Help Prevent Repeat Repairs
The most effective checks follow a logical sequence. Each step narrows the possible cause and helps determine whether the repair should remain localized or extend into the surrounding roof.
1. Identify the Vent Type and Its Interior Connection
Start by determining what the roof penetration serves. It may be connected to a plumbing stack, bathroom exhaust fan, kitchen exhaust, attic ventilation system, turbine vent, powered ventilator, or mechanical appliance.
Where attic access is safe, trace the pipe or duct to its interior connection. A plumbing vent and an exhaust duct may look similar from outside, but they create different moisture risks.
Match the Roof Opening to the Room Below
Connecting the exterior vent to the correct bathroom, kitchen, or plumbing fixture can help explain when moisture appears. A stain that grows after long showers may indicate duct condensation or a disconnected exhaust line rather than failed exterior flashing.
2. Record Exactly When the Moisture Appears
The timing of the leak is one of the strongest diagnostic clues.
Rain-related moisture often appears during a storm or shortly afterward. Condensation may develop during cold mornings, after indoor humidity rises, or when warm exhaust air moves through an uninsulated duct.
Record whether the problem occurs:
During every rainfall
Only during heavy or wind-driven rain
Several hours after a storm
After showering or cooking
During large temperature changes
When an exhaust fan operates for an extended period
Photographs taken before the surfaces dry can provide more useful evidence than old stains alone.
3. Inspect the Full Vent Boot or Collar
Check the complete circumference of the collar, including the uphill side. Fine splits may open only when the material flexes, making them difficult to notice during a quick visual inspection.
Look for hardened rubber, separation from the pipe, distortion, missing sections, and old sealant pulling away from the surface.
Repeatedly coating a deteriorated collar may not provide a dependable result. Once the material has lost flexibility or begun to split, replacement is often the more appropriate repair approach.
4. Confirm That the Flange Is Integrated Correctly
Follow the direction water should travel. It should move from the upper roofing surface, across the flashing, and onto the roof below without entering beneath the flange.
Check for lifted shingles, reversed overlaps, broken corners, exposed side gaps, and roofing cement that forms a dam above the vent.
Inspect the Area Immediately Upslope
Leaves, granules, dirt, and old patching materials can collect above the vent and slow drainage. Even a small obstruction can hold water against a weak seam.
Removing debris does not correct damaged flashing, but it may reveal the location where water has been collecting.
5. Examine Fasteners and Abandoned Holes
Every exposed fastener near the vent should be checked for corrosion, movement, missing protection, and enlarged holes.
Previous repairs may leave unused nail or screw holes beneath sealant. These openings can remain hidden until the coating cracks or separates.
A fastener that no longer grips the roof deck should not simply be replaced with another fastener nearby without checking the substrate. Weak decking can allow the new attachment to loosen again.
6. Assess the Surrounding Roofing Layers
The vent may be only one part of the damaged area. Inspect nearby shingles, tiles, membrane seams, underlayment, and decking for signs of wear or water entry.
Warning signs include:
Cracked or brittle shingles
Broken or displaced tiles
Open membrane seams
Incorrectly cut roofing around the vent
Torn underlayment
Darkened or softened decking
Multiple old patches
Repeated fastener movement
When damage extends beyond the vent itself, the appropriate work may involve broader shingle, flat, and tile roofing services rather than another isolated application of sealant.
7. Trace Fresh Moisture From the Attic Side
An attic inspection can reveal where water first appears beneath the roof surface. Look for fresh droplets, darkened wood, rusted nail tips, damp insulation, moisture on a pipe, and staining that follows the roof slope.
A moisture meter may help compare suspicious areas, but readings should be interpreted alongside visual evidence and weather conditions.
Attic and roof access should never take priority over safety. Wet framing, exposed electrical equipment, limited headroom, unstable insulation, steep slopes, and slippery roofing materials require caution and may call for professional inspection.
Roof Leak or Condensation: How to Read the Moisture Pattern
A vent-related ceiling stain does not always mean rain is entering through the flashing. Warm indoor air can also create moisture inside a cold attic.
The correct repair depends on distinguishing these two conditions.
Signs That Point to Exterior Rain Intrusion
Rain intrusion is more likely when moisture appears during or shortly after rainfall and follows a path from the roof deck toward the ceiling.
Other indicators include:
Wet decking near the vent opening
Staining that follows the roof slope
Visible boot or flange damage
Moisture that worsens during wind-driven rain
Damp insulation directly below the penetration
Water marks beneath raised fasteners or damaged shingles
Directional rain can expose defects that remain dry during lighter storms. This is why a vent may leak only under certain weather conditions.
Signs That Point to Attic Condensation
Condensation is more likely when moisture appears without rain or develops after indoor humidity rises.
Common indicators include:
Water beads on a cold pipe
Moisture on an uninsulated metal duct
Dripping after showers or cooking
Wet insulation below a duct joint
An exhaust line ending inside the attic
Moisture that appears during temperature changes
Exhaust Duct Problems Can Mimic Flashing Leaks
A bathroom or kitchen exhaust duct should carry moist air to an appropriate exterior termination. If the duct is disconnected, poorly sealed, damaged, or inadequately insulated, moisture may collect in the attic.
Replacing the exterior vent flashing will not correct condensation that begins inside the duct system. Both the roof-side termination and the attic-side connection should be evaluated before the repair scope is finalized.
Matching the Repair to the Layer That Failed
A dependable repair addresses the specific component that allowed moisture to enter or form. The work should be no broader than necessary, but it should not stop short of concealed damage.
When a Localized Boot or Flange Replacement May Be Appropriate
A focused repair may be reasonable when the surrounding roofing remains serviceable, the underlayment is intact, and the roof deck is dry and structurally sound.
The work should still include:
Removal of failed materials
Correct integration of the new flange
Replacement or protection of necessary fasteners
Closure of abandoned holes
Restoration of the drainage path
Verification that the vent opening is properly sized
Materials Must Match the Existing Roof Assembly
Asphalt shingles, tile roofs, and low-slope membranes require different flashing details. A component that works with one roofing system may not integrate correctly with another.
Material compatibility matters at every contact point, including the boot, flange, roof covering, fasteners, underlayment, and sealant used for limited detailing.
When the Repair Must Extend Beyond the Vent
A larger repair area may be necessary when the surrounding roof contains broken materials, torn underlayment, enlarged openings, weak decking, failed membrane seams, or several abandoned fastener holes.
Installing a new vent over damaged substrate may create a clean appearance while leaving the structural cause untouched.
Examples of broader repair conditions include:
Decking that no longer holds fasteners
Roofing material broken during a prior repair
Underlayment cut too widely around the opening
A flange that cannot be integrated without lifting adjacent roofing
Moisture damage extending beyond the visible vent base
Reviewing completed roofing projects can help property owners understand the difference between isolated repairs, reroofing work, coating applications, tile resets, and full replacement projects without assuming that every vent leak requires the same solution.
When Several Vent Leaks Suggest a Wider Roof Problem
One failed boot may be a localized issue. Several leaking penetrations can indicate broader aging, installation problems, widespread material brittleness, or repeated patching across the roof.
The decision should be based on the condition of the full drainage system rather than the number of stains visible indoors.
How Heat, Sunlight, Material Movement, and Wind Stress Roof Vents
Roof vent assemblies are exposed to changing temperatures, sunlight, wind, debris, and seasonal rainfall. These forces can gradually affect both flexible and rigid materials.
Sun Exposure Can Weaken Flexible Components
Rubber collars and exposed sealants may harden, shrink, or lose flexibility after prolonged exposure. A boot can appear intact from a distance while developing fine cracks around the pipe.
Roof orientation, shading, product type, installation quality, and surrounding materials all affect how components age. For that reason, a universal service-life prediction may not reflect the actual condition of a particular vent.
Different Materials Move at Different Rates
Metal flashing, plastic housings, rubber collars, pipes, shingles, and wood decking respond differently to temperature changes.
Repeated expansion and contraction can:
Loosen fasteners
Separate old sealant
Widen small gaps
Distort plastic components
Increase movement around the pipe
Stress brittle roofing materials
Correctly layered flashing is important because it continues directing water even when minor movement occurs. A repair that depends entirely on a rigid surface coating may be less tolerant of those changes.
Wind-Driven Rain Tests Weak Flashing Details
Strong wind can push rain toward the uphill side of a vent, beneath a lifted flange edge, or through a poorly fitted hood. Debris above the vent can make the problem worse by slowing drainage.
Professional roof leak and flashing repair services should evaluate the visible defect together with surrounding shingles, fasteners, underlayment, and attic evidence. This broader view helps prevent the repair from being reduced to another surface patch.
What a Roof Vent Repair Scope Should Document
A clear repair scope helps property owners understand what will be inspected, removed, replaced, and verified. It should describe the suspected failure and explain how the proposed work restores drainage.
The Written Scope Should Define the Repair Boundary
A useful scope may document:
The type of roof vent
The suspected or confirmed entry point
The condition of the boot, flange, hood, and fasteners
The roofing materials that must be lifted or replaced
Whether underlayment damage is included
How weakened decking will be handled
How the new flashing will integrate with the roof
Whether attic-side ducting and condensation were evaluated
How concealed damage will be documented
What cleanup, exclusions, and workmanship terms apply
The description should be specific enough to distinguish a true flashing repair from a surface-sealing service.
Questions Should Be Resolved Before Work Begins
Homeowners may need clarification about onsite assessments, changes discovered after the initial inspection, workmanship coverage, cancellation terms, financing options, and project documentation. The company’s answers about roofing estimates and project changes provide relevant information for these practical decisions.
Clear communication is especially important when concealed materials cannot be evaluated until nearby roofing is lifted.
Repair Proposals Should Be Compared by Scope
Two proposals may both use the phrase “roof vent leak repair” while describing very different work.
One may include only surface sealant. Another may include removal of surrounding roofing, replacement of the boot, inspection of underlayment and decking, proper flange integration, and restoration of damaged materials.
A detailed roofing assessment and estimate can help define the recommended work without relying on vague descriptions. The value lies in understanding the condition found and the repair method proposed, not in choosing a scope based only on a single headline description.
A Durable Roof Vent Repair Begins With a Verified Water Path
A ceiling stain, visible crack, or nearby vent provides a starting point, not a complete diagnosis. The lasting solution comes from identifying how moisture entered, what materials failed, and whether the problem began outside the roof or inside the attic.
The most dependable process is systematic. Identify the vent type, document when moisture appears, inspect the boot and flange, check the surrounding roofing layers, trace evidence from the attic, and match the repair to the damaged component.
When the full drainage path is restored, water can move around the penetration as intended. That approach is more reliable than repeatedly covering the same area and hoping the visible gap was the only weakness.