

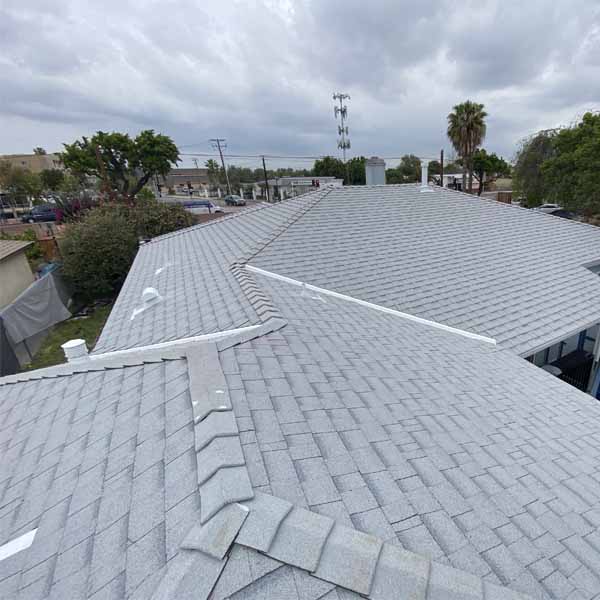
Living in Los Angeles means dealing with aging homes that could use some love, especially when it comes to roofs. Upgrading your roof not only protects your family but also increases your home’s curb appeal and saves energy. Let’s walk through what older LA homes need, why it matters, and how to make it happen—with clear examples and simple advice every step of the way.
Why Roofing Upgrades Matter in LA
Older homes often come with roofs that:
Leak during heavy Santa Ana rains.
Show cracked or curled shingles after years of sun exposure.
Lack energy-efficient features, driving up cooling bills.
Don’t protect against pests or mold buildup.
These issues lead to expensive damage and discomfort. A smart roofing upgrades plan can fix current problems and set you up for long-term benefits like:
A stronger, more weather-resistant roof
Lower energy costs
Improved home value
Increased weather protection
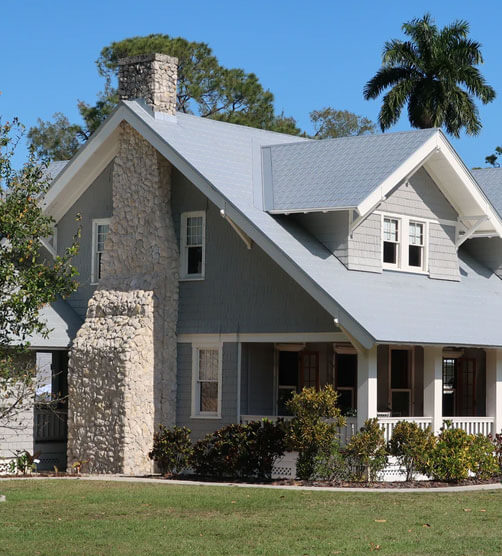
Planning Your Roofing Upgrades
1. Assess the Roof Condition
Start by having a professional inspect your roof. They will look for:
Blistered or curled shingles that are near the end of their life.
Roof deck issues, like wood rot or damaged underlayment.
Loose flashing around chimneys, vents, or where roof angles change.
Understanding what needs repair or replacement prevents surprises and budget overruns.
2. Choose the Right Materials
Choosing good materials is key. For older LA homes, your roof needs to handle heat, rain, and occasional winds. Some great options include:
Asphalt shingles (standard and affordable)
Metal roofing (durable and energy-efficient)
Clay or concrete tiles (popular in LA for their style)
Modified bitumen (good for low-slope roofs)
Experts at Best roofing materials site explain pros and cons of each kind—this helps pick what works best for your home.
3. Verify Contractor Experience
Not every roofer is skilled with older homes or specific materials. Find someone who:
Has local LA roofing experience
Works with historic or steep-slope homes
Can show recent examples of past jobs
Provides clear, written cost estimates
A good roofer prevents mistakes that lead to leaks later on. Checking references and licenses is non-negotiable when planning roofing upgrades.
Roofing Upgrade Tactics That Deliver
Let’s break down effective roofing upgrades into practical, simple steps:
A. Deck and Underlayment Replacement
Remove old underlayment and inspect the wood deck.
Replace rotted planks and install a high-temperature, water-resistant underlayment.
Use starter strips at eaves and ridge vents to help airflow and heat management.
This layer is essential—it solves bigger problems you don’t want lingering underneath.
B. High-Quality Shingle Replacement
Opt for Class A fire-rated shingles, which are common and fire-safe.
Choose reflective or cool-roof shingles to reduce heat absorption.
Lay them carefully, following manufacturer spacing and fastening guidelines.
Proper shingle installation is a cornerstone of long-term roof protection.
C. Improve Ventilation
Add ridge vents along the roof’s peak to exhaust hot air.
Ensure soffit vents allow cool air to enter.
Proper airflow reduces attic heat and prevents mold growth.
Vent upgrades are a classic yet underrated roofing upgrades move that can save long-term energy costs.
D. Flashing and Waterproofing
Replace old flashing around chimneys, vents, valleys, and roof edges.
Use high-quality metal (aluminum or copper) to resist corrosion.
Apply sealants and drip edges to guide rainwater away from vulnerable areas.
This prevents leaks in places often missed during inspections.
E. Gutter and Drainage Upgrades
Clean or replace gutters and downspouts to prevent water overflow.
Add gutter guards to reduce debris buildup.
Make sure downspouts channel water at least 6–10 feet from the house foundation.
Good drainage can save your roof, landscaping, and foundation simultaneously.
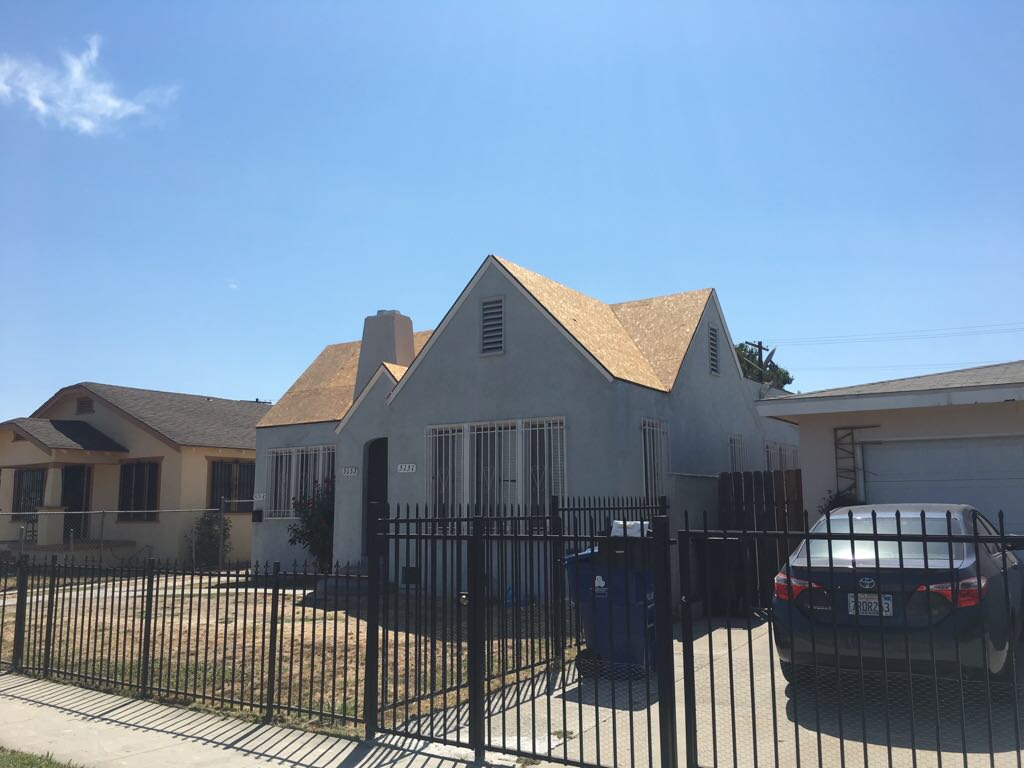
Example Project: 1920s Spanish Revival Home
| Roof Issue | Upgrade Step | Result |
|---|---|---|
| Worn out clay tiles | Replaced with new Class A shingles | Better protection, lower cost, modern look |
| No attic vents | Installed ridge and soffit vents | Cooler attic, improved shingle longevity |
| Damaged flashing | Added copper flashing | Leak prevention and stylish finish |
| Overflowing gutters | New gutters + guards installed | Water diverted, less damage risk |
| Large repair budget | Phased project approach | Costs spread over 2 years, quality not compromised |
This plan restored protection, reduced energy bills, and maintained classic style—all key to smart roofing upgrades.
What to Expect During Roof Replacement
Preparation
Place tarps and protect landscaping.
Install debris chutes for easy cleanup.
Stripping Old Roof
Remove shingles, underlayment, and flashing.
Inspect decking for damage.
Build and Vent
Repair decking, apply new underlayment, and add vents/flashing.
Install Shingles
Nail carefully, seal ridges and edges.
Finish Up
Clean debris from property, reinstall gutters, and inspect everything.
Expect 3–7 days, depending on size and weather. Keep communication open with your contractor.
Budget-Friendly Roofing Upgrades
Looking for lower cost without skimping on quality? Try:
Spot repairs in leaking areas
Overlay existing shingles (only if decking and structure are sound)
DIY maintenance, like clearing gutters and inspecting for damage
Regular cleaning to preserve shingle life
These save money now and extend time before a full replacement is necessary. Just be sure roofers approve any overlay projects.
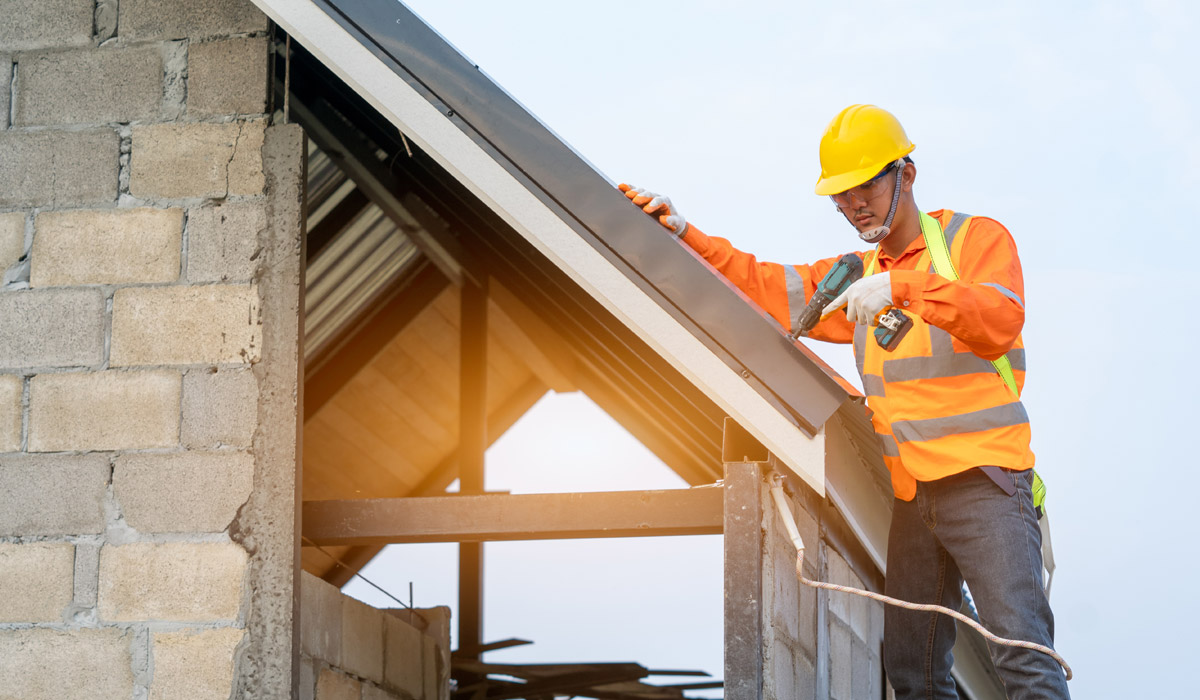
How to Choose a Roofing Contractor
Here’s a simple checklist:
✔️ Licensed and insured
✔️ LA-based with local references
✔️ Provides itemized written estimates
✔️ Communicates clearly and answers questions
✔️ Offers a warranty (material and workmanship)
Look for a team who listens and educates—that builds trust and clarity during roofing upgrades projects.
Benefits You’ll Notice
After completing roofing upgrades, many homeowners report:
Cooler indoor temperatures in summer
Lower HVAC bills
Greater confidence in defending against storms
Raised home value and stronger curb appeal
Peace of mind knowing the roof is secure
These pay off over time and improve life in your LA neighborhood.
Getting Started on Your Upgrades
To move forward, your next step is clear: find trusted local help. A reliable roofing contractor in Los Angeles, CA can provide an on-site evaluation and project quote.
If you’re just browsing ideas or want a free estimate, head over to the Smile Roofing homepage for more info and contact options.
Want to check them out in person? See the location on Google Maps.
Final Thoughts and Call to Action
Older roofs in LA need more than just a patch. With the right roofing upgrades, your home can weather storms, reflect heat, and stay protected for years. Start with an honest inspection, choose materials wisely, and hire a local professional you trust.
Take action now:
Schedule a roof inspection.
Review cost options with your contractor.
Plan upgrades in phases if needed.
Book your LA roofing contractor today to get started on a better, safer roof.
By focusing on quality, planning, and smart material choices, your home’s next roofing upgrade will protect your family and boost comfort for years to come.